How to use on iPhone

How to use on iPhone

How to use
on iPhone

Jump to your preferred setup method:

Scan-based setup

iOS-native installation

Text-based installation

Pro tip: Set up your eSIM shortly before you travel.

Once you arrive, it can connect right away without needing Wi-Fi at your destination.

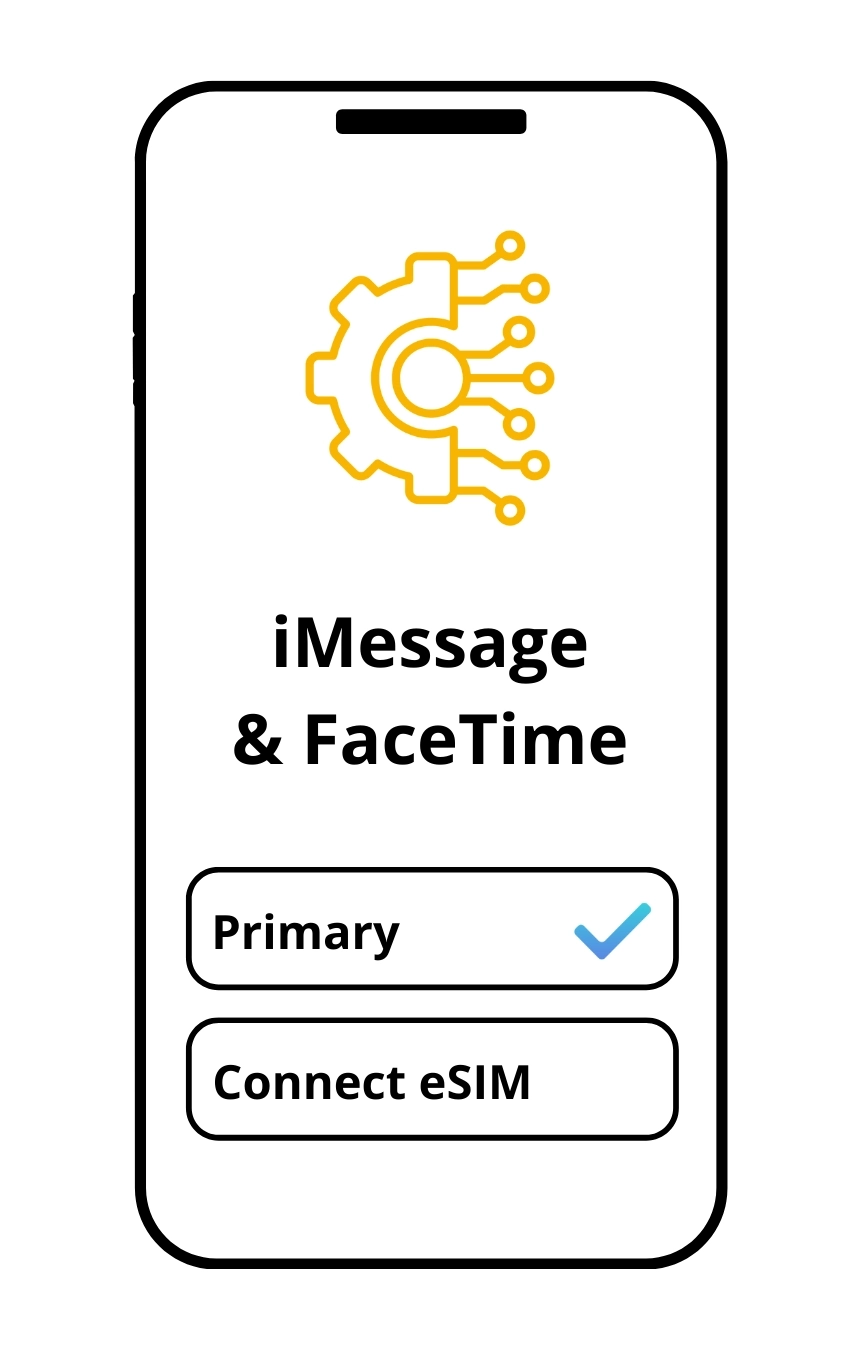
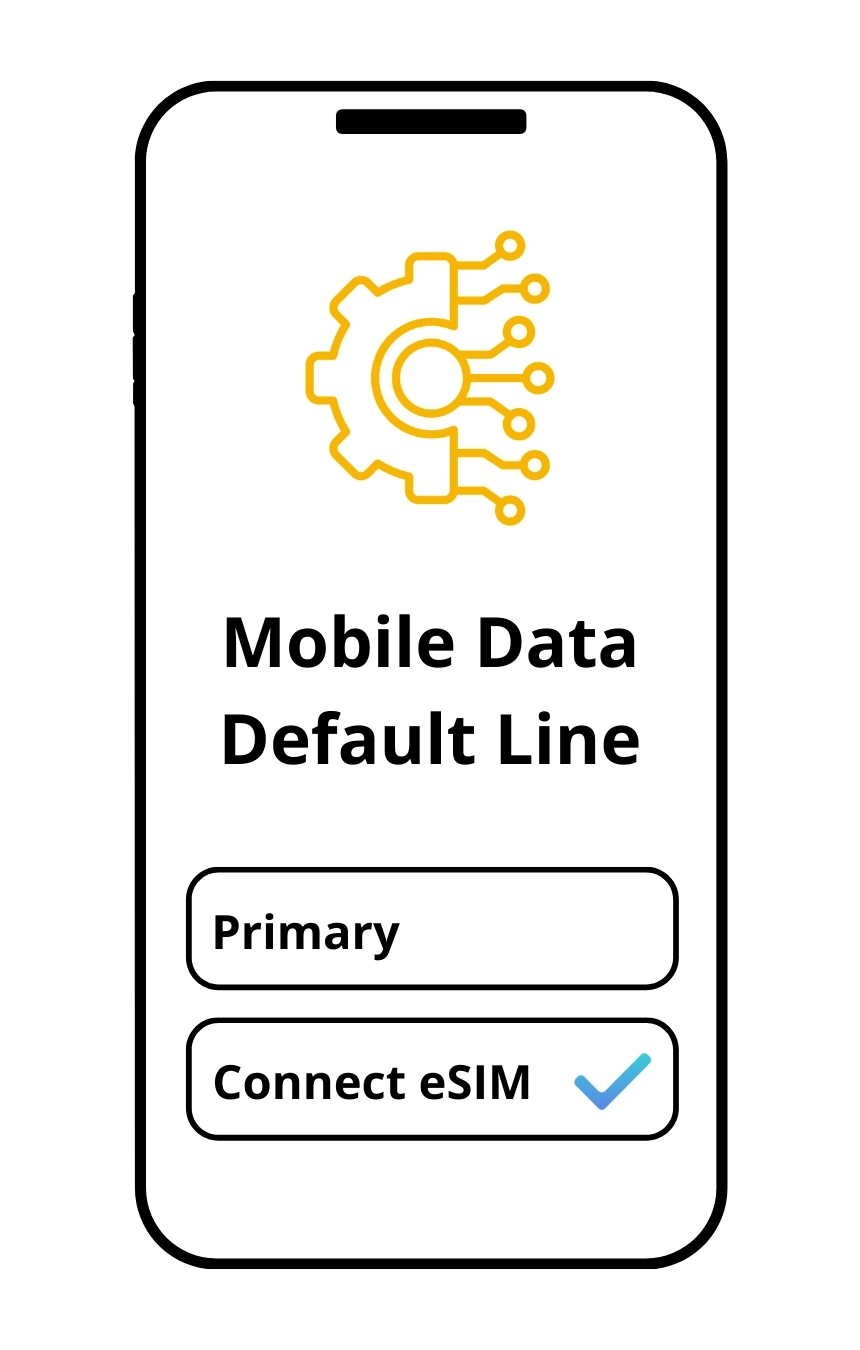
Make sure Mobile Data and Data Roaming are enabled for your eSIM as per this guide.

Activation by QR Code

Step 1:
Select Mobile / Cellular

Step 1:
Select Mobile / Cellular

Activation by

QR Code

Step 1:
Select Mobile / Cellular

Step 2:
In the Mobile Data menu, scan your QR code

Tip: If you’re viewing this guide on your phone, open your QR code on another device so your camera can scan it.

Step 2:
In the Mobile Data menu, scan your QR code

Tip: If you’re viewing this guide on your phone, open your QR code on another device so your camera can scan it.

Step 2:
In the Mobile Data menu, scan your QR code

Tip: If you’re viewing this guide on your phone, open your QR code on another device so your camera can scan it.

Step 3:
Your iPhone will begin installing the eSIM - this may take a few moments

Step 3:
Your iPhone will begin installing the eSIM - this may take a few moments

Step 3:
Your iPhone will begin installing the eSIM - this may take a few moments

Step 4:
Your eSIM has been successfully added

Step 4:
Your eSIM has been successfully added

Step 4:
Your eSIM has been successfully added

Step 5:
Choose a name to easily identify your new eSIM

Step 5:
Choose a name to easily identify your new eSIM

Step 5:
Choose a name to easily identify your new eSIM

Step 6:
Select your default line as Primary for calls & messages

Step 6:
Select your default line as Primary for calls & messages

Step 6:
Select your default line as Primary for calls & messages

Step 7:
If prompted, configure iMessage & FaceTime as Primary

Step 7:
If prompted, configure iMessage & FaceTime as Primary

Step 7:
If prompted, configure iMessage & FaceTime as Primary

Step 8:
Set Mobile Data to your new eSIM

Step 8:
Set Mobile Data to your new eSIM

Step 8:
Set Mobile Data to your new eSIM

Step 9:
Disable Primary Data Roaming & enable your eSIM for internet access

Step 9:
Disable Primary Data Roaming & enable your eSIM for internet access

Step 9:
Disable Primary Data Roaming & enable your eSIM for internet access

Step 10:
You’re connected.
Your Connect eSIM is now ready to use

Step 10:
You’re connected.
Your Connect eSIM is now ready to use

Step 10:
You’re connected.
Your Connect eSIM is now ready to use

Need help activating your eSIM? Chat with us
via WhatsApp for fast, friendly support 24/7

Just browsing?
Activate your eSIM in a few taps
>>>

Apple Quick Install Link

A seamless, guided experience built directly into iOS

Step 1
Open the install link

Tap the Apple Quick Install Link provided in your email or account

Step 2
Confirm eSIM installation

Your iPhone will open Settings and guide you through setup

Step 3
Finish setup

Once installed, follow the on-screen prompts to complete activation

Need help activating your eSIM? Chat with us
via WhatsApp for fast,
friendly support 24/7

Just browsing?
Activate your eSIM in a few taps
>>>

Manual Activation Code

Use this method if QR code or Apple Quick Install Link isn’t available

Step 1
Open Cellular Settings

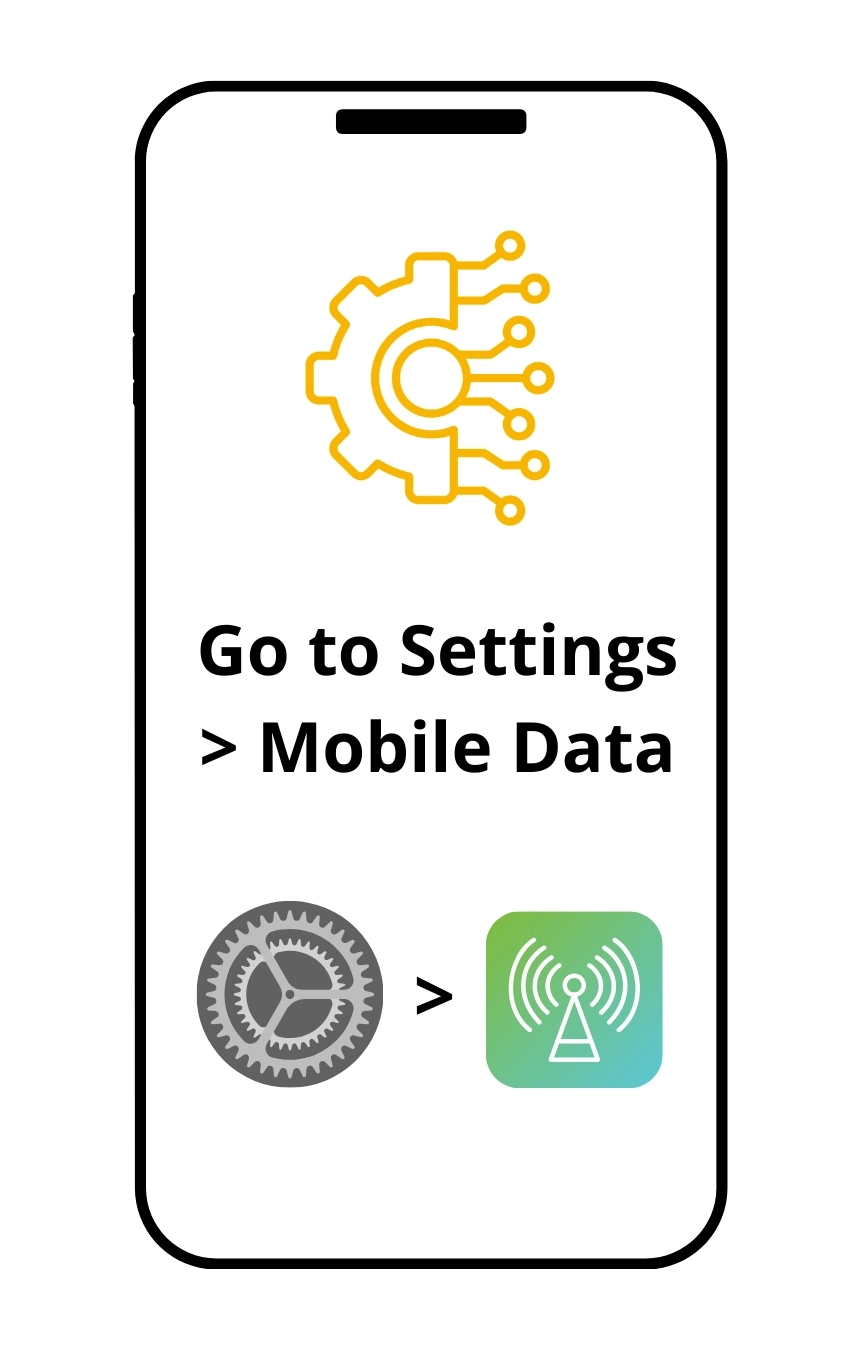
Go to Settings > Mobile Data
Tap Add eSIM

Step 2
Choose manual entry

Select Enter Details Manually

Step 3
Enter activation details

Paste the Manual Activation Code from your eSIM purchase email

Step 4
Complete installation

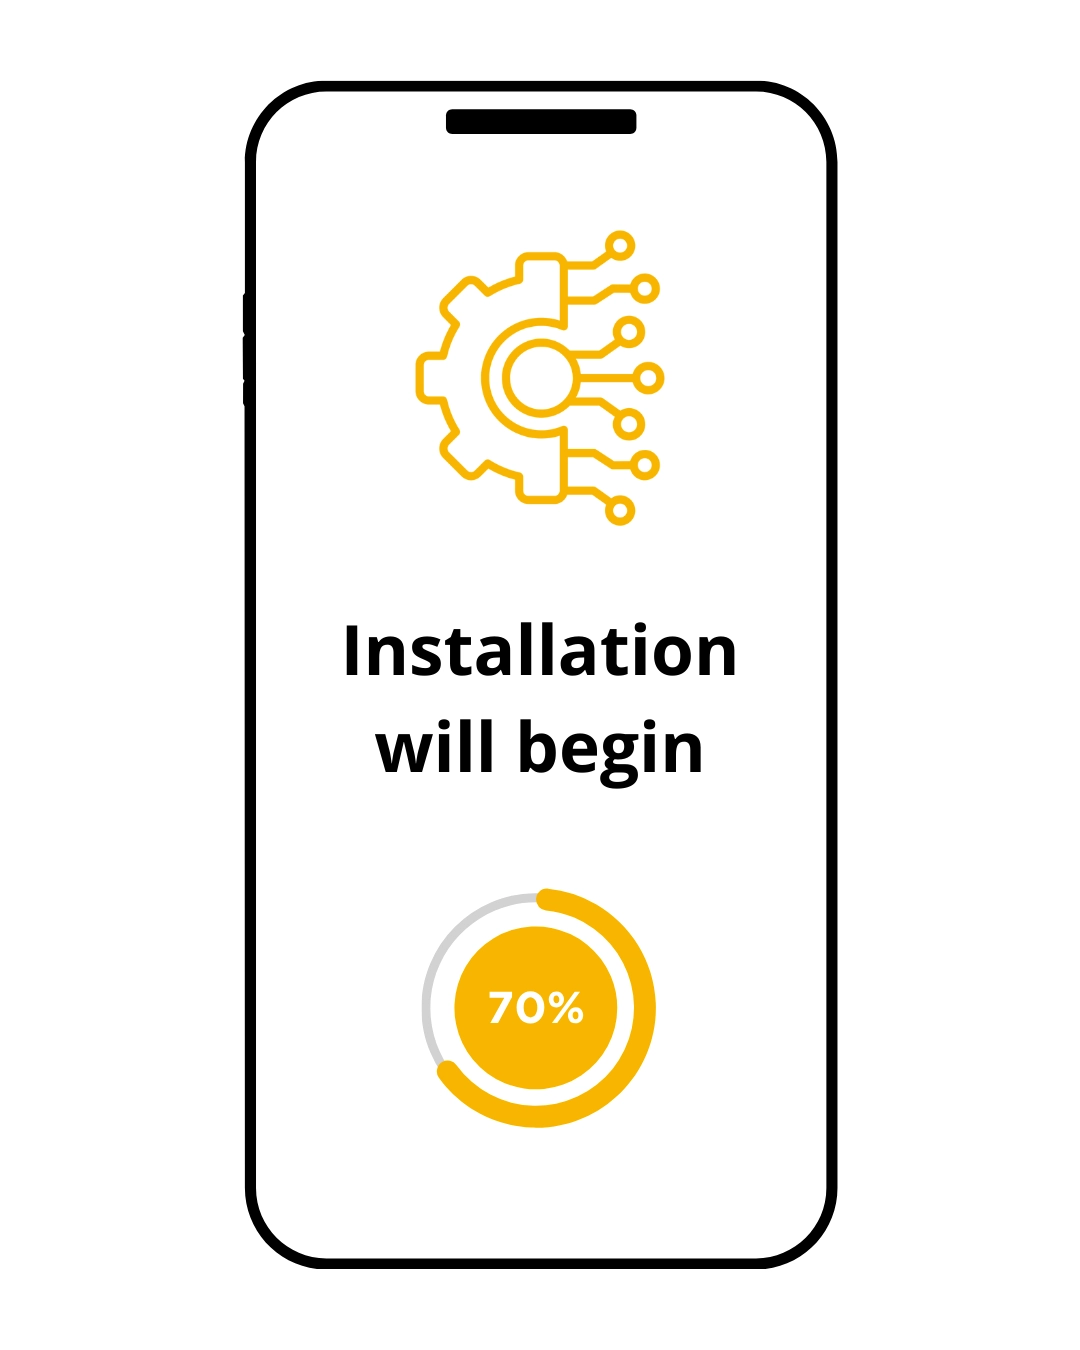
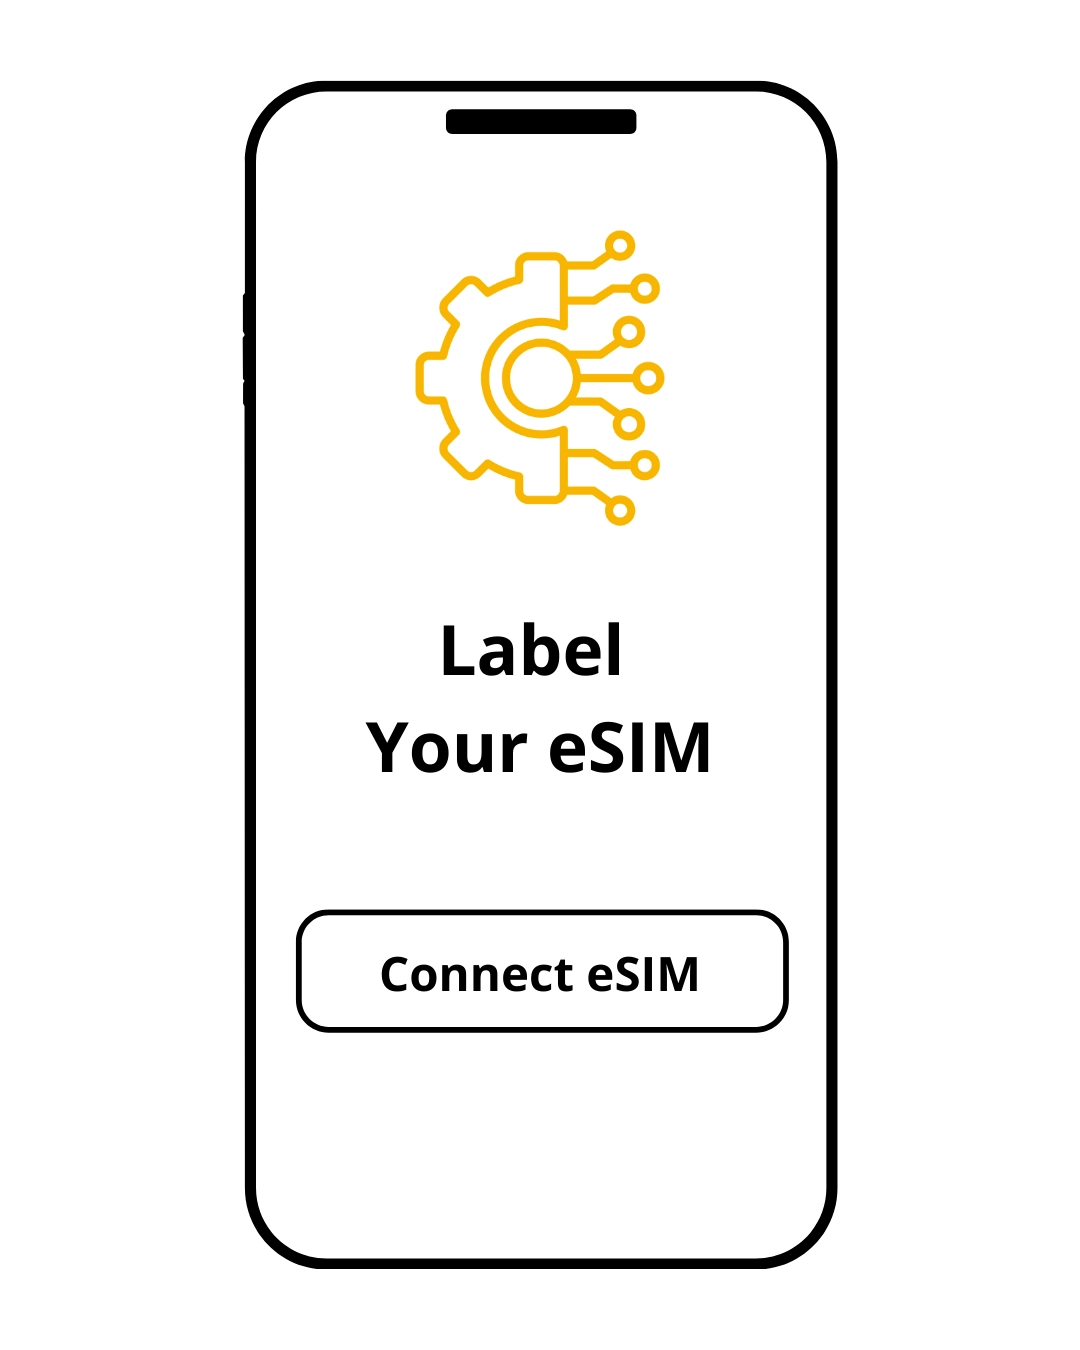
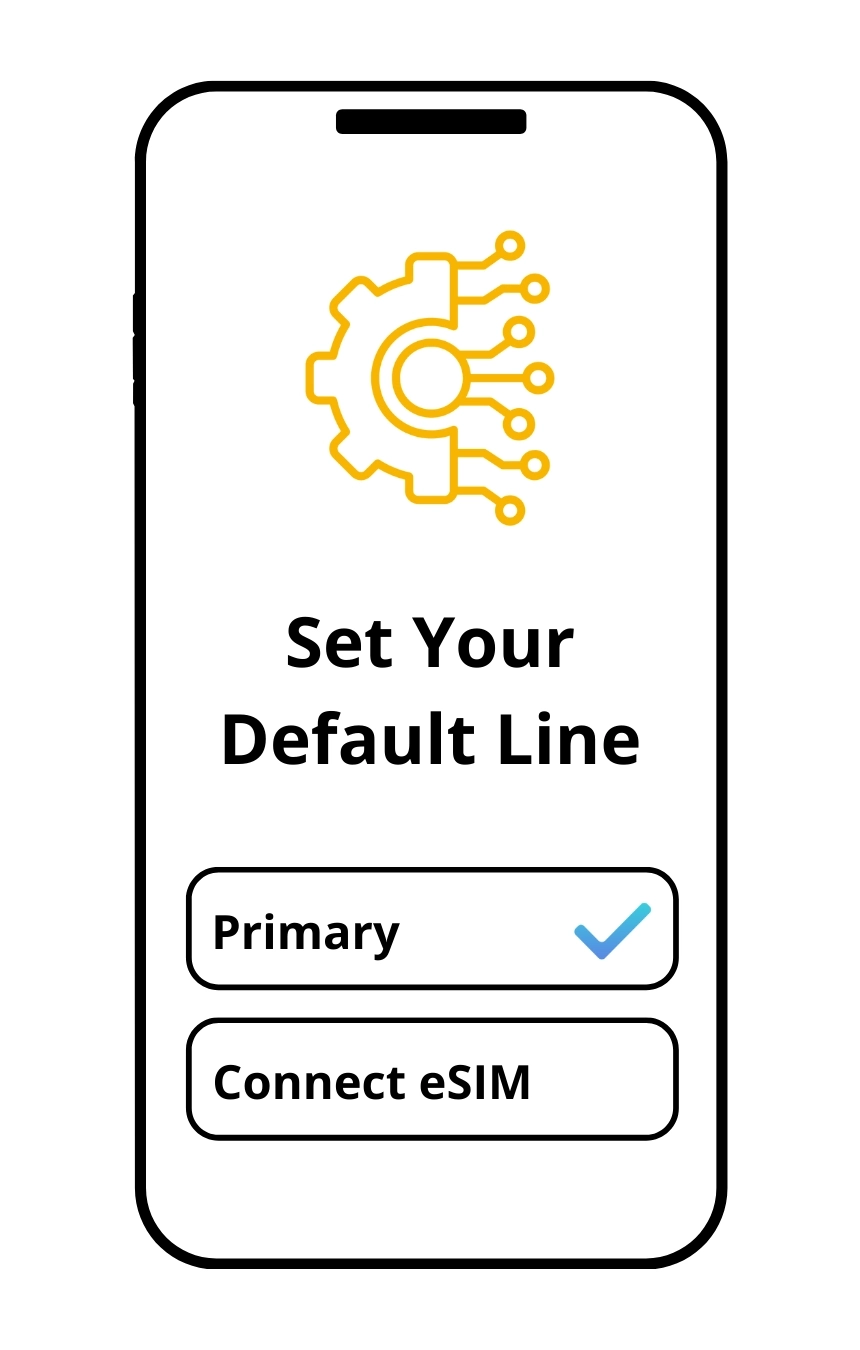
Follow the on-screen steps to finish setting up your eSIM

Need help activating your eSIM? Chat with us
via WhatsApp for fast,
friendly support 24/7

Just browsing?
Activate your eSIM in a few taps
>>>

Connect. Launch. Explore

Follow Us

© 2026 All rights reserved.